
TNT SIM registration is required under Philippine law to help reduce scams, fraud, and other mobile-related crimes while ensuring uninterrupted access to calls, texts, and mobile data services.
TNT (Talk ‘N Text) offers multiple ways to register your SIM card, making the process simple and convenient. Whether you prefer completing your TNT SIM registration online or visiting a nearby Smart Store for assistance, you can choose the option that works best for you.
Important: Newly purchased TNT SIM cards cannot be used for calls, texts, or mobile data until the registration process has been completed successfully.
How to Complete TNT SIM Registration
You can register your TNT SIM card using a valid government-issued ID through any of the methods below. Complete your registration to keep your SIM active and continue enjoying TNT’s prepaid services.
- TNT SIM Registration Through Portal
- Register via Smart/GigaLife App
- Offline Registration SIM Card TNT Method
Looking for more helpful Philippine government and telecom guides? Visit RegisterInfoPH for the latest step-by-step tutorials and updates.
Registering Your TNT SIM Via the Online Portal
Signing up for TNT SIM Registration through an online portal (TNT SIM Registration link) is the most convenient way to activate your SIM card without needing to visit a service center in person. Below are the step-by-step instructions to complete your TNT SIM registration online.
Click the TNT registration SIM button below or go to the TNT SIM Registration link online https://simreg.smart.com.ph/.
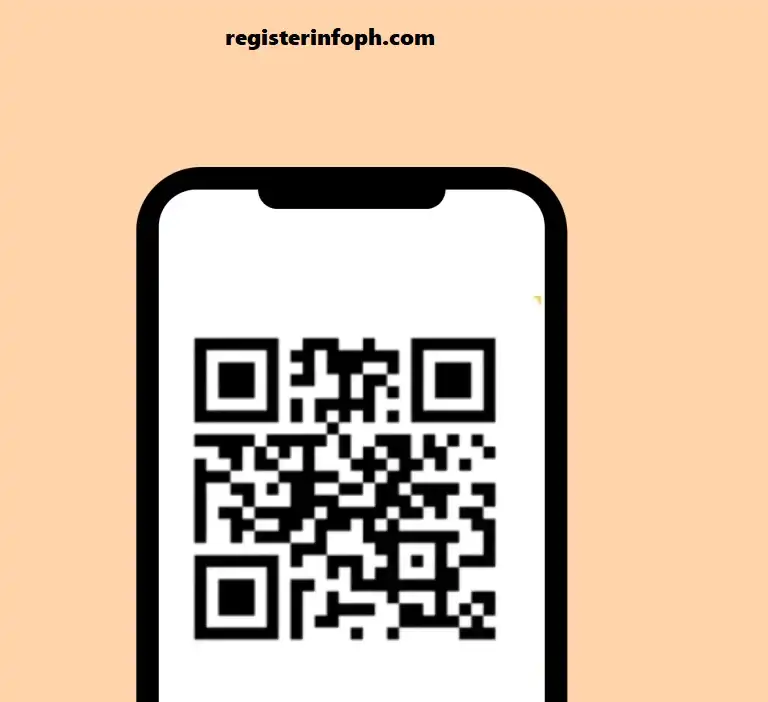
You can also scan the QR code to get redirected to the TNT registration SIM card portal.
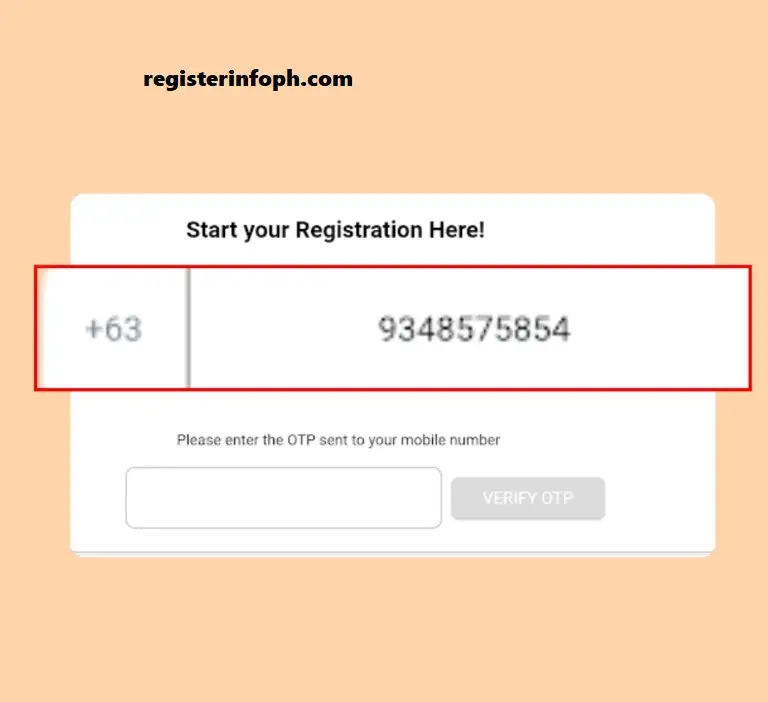
Type in your mobile number starting with 9 (leave out the first two digits “63”).
Example: 917XXXXXXXX (without “0” or “+63”).
Check the box confirming that you’ve read the Terms and Conditions.
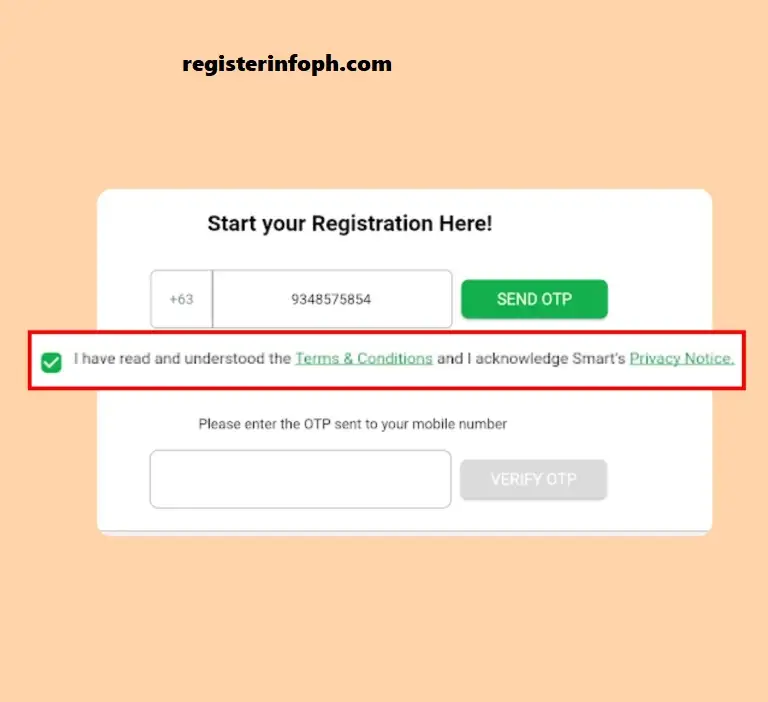
Tap the “Send OTP” button.
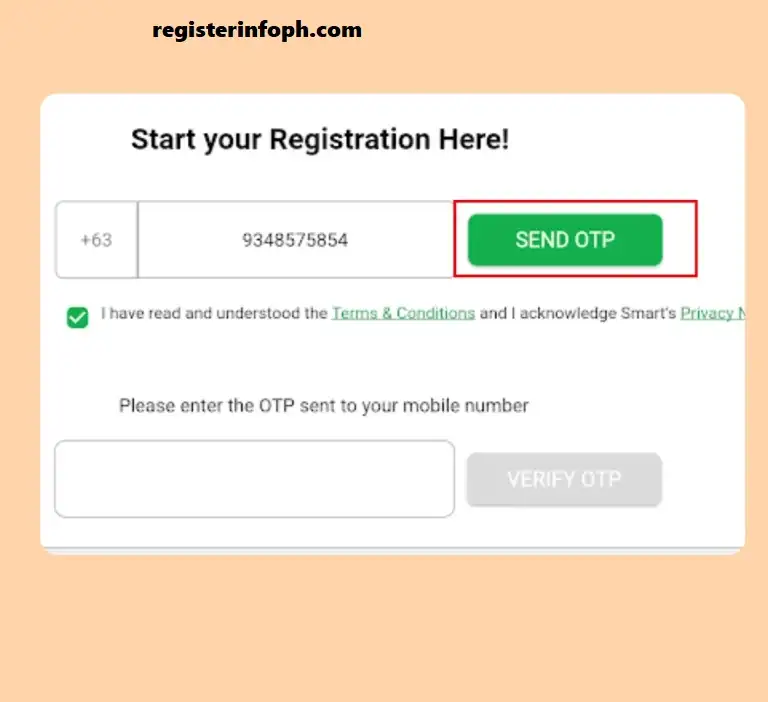
Wait for the OTP to arrive, then go back to the registration SIM TNT portal.
If you don’t receive it within 2 minutes, tap “Resend OTP.”
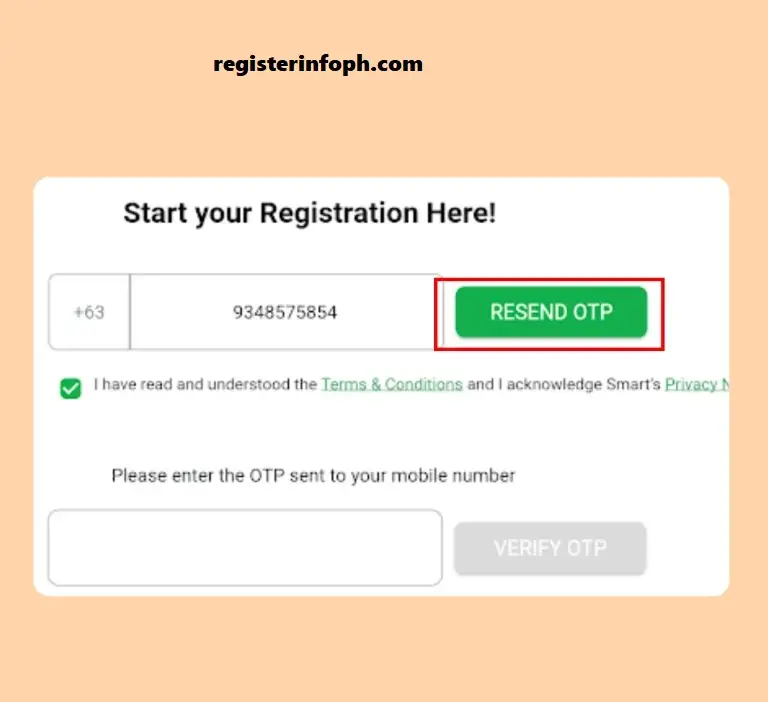
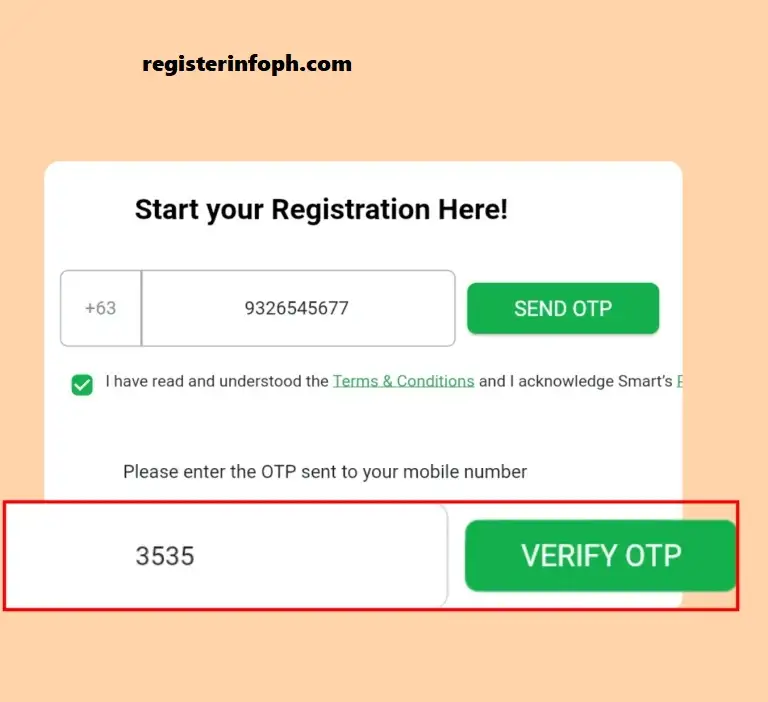
Enter the OTP carefully, then tap “Verify OTP.”
(Note: The OTP expires in 2 minutes.)
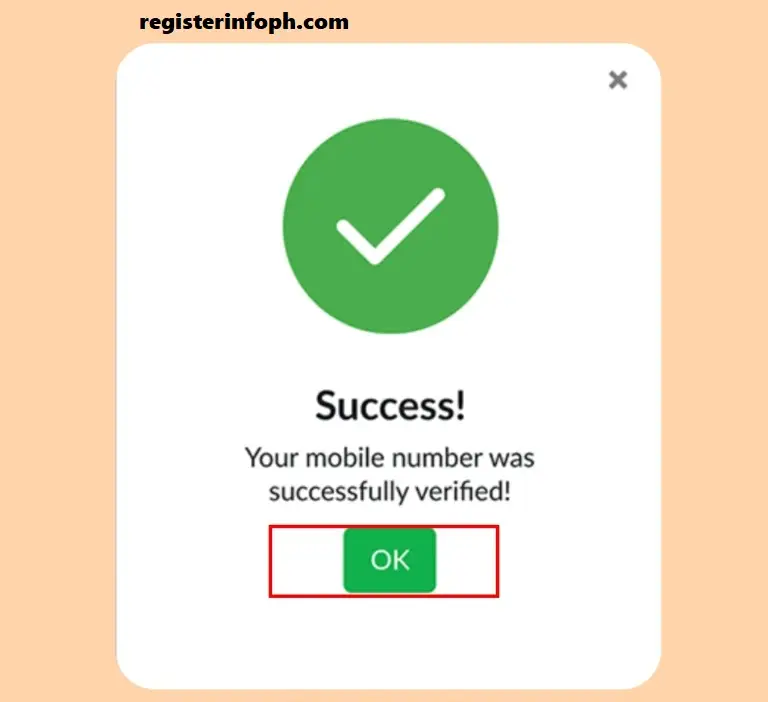
Once your mobile number is confirmed, tap OK to proceed.
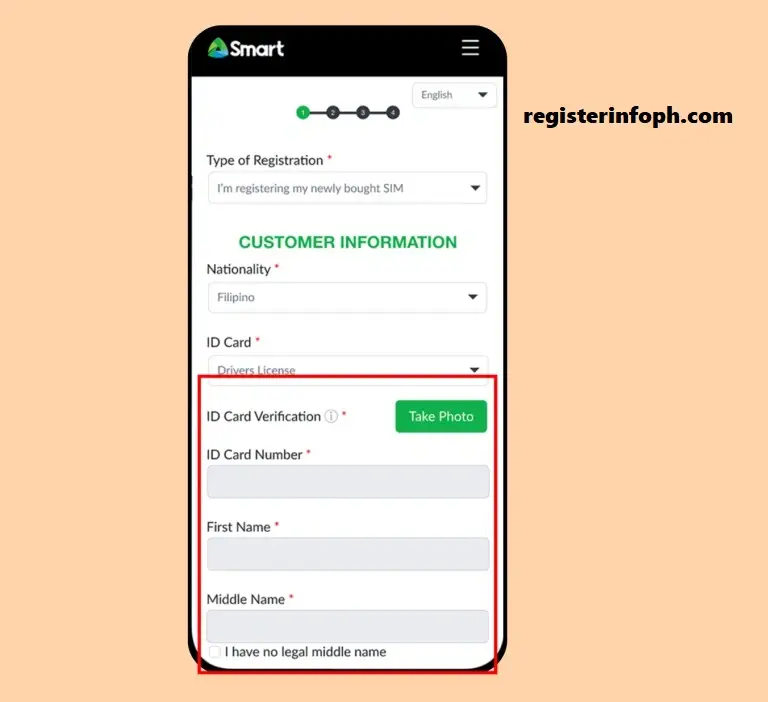
You’ll now see the Customer Information Form. Complete all the required fields.
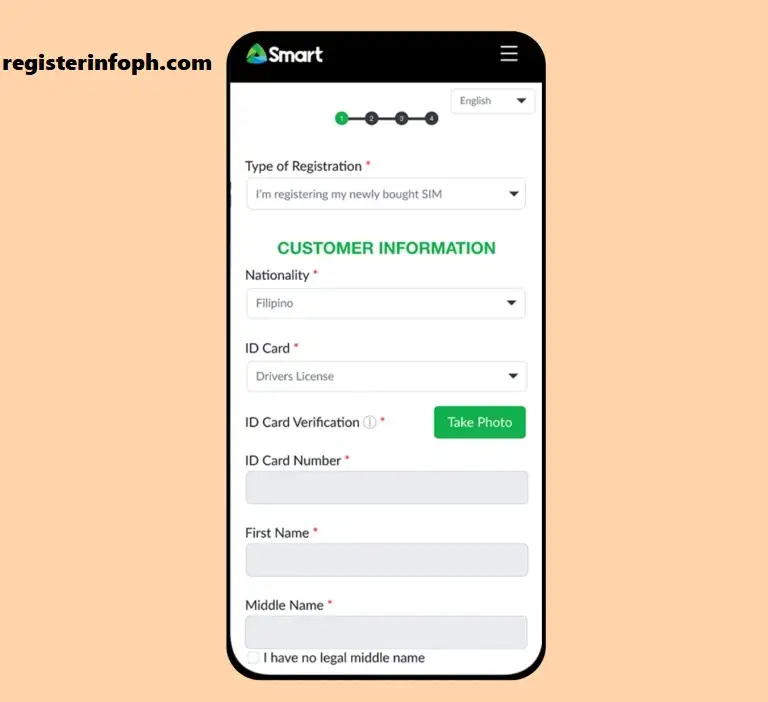
Next, choose your Registration Type — indicate whether you’re registering a new SIM or an existing one.
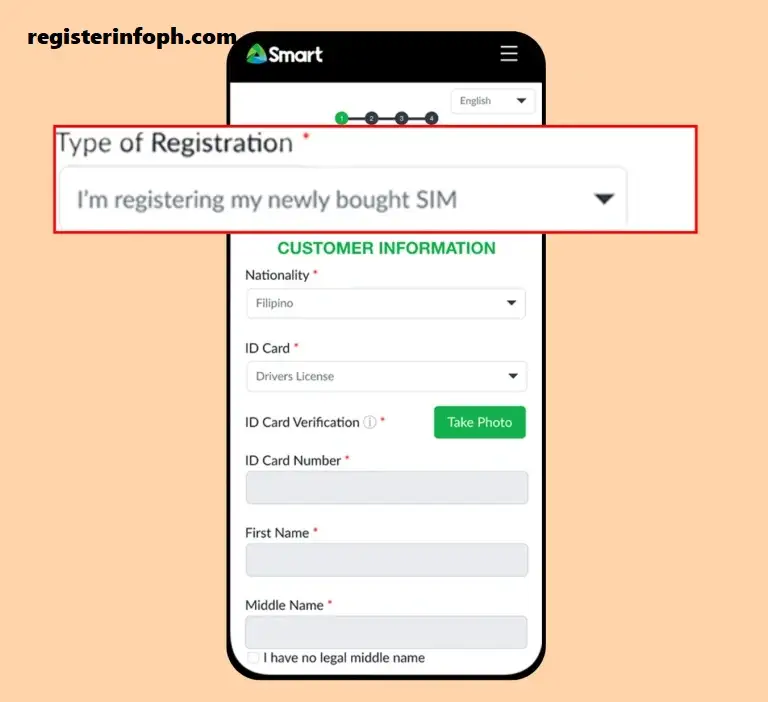
Select your Nationality. This field is required.
For example, if you’re from the Philippines, choose Philippines as your nationality.
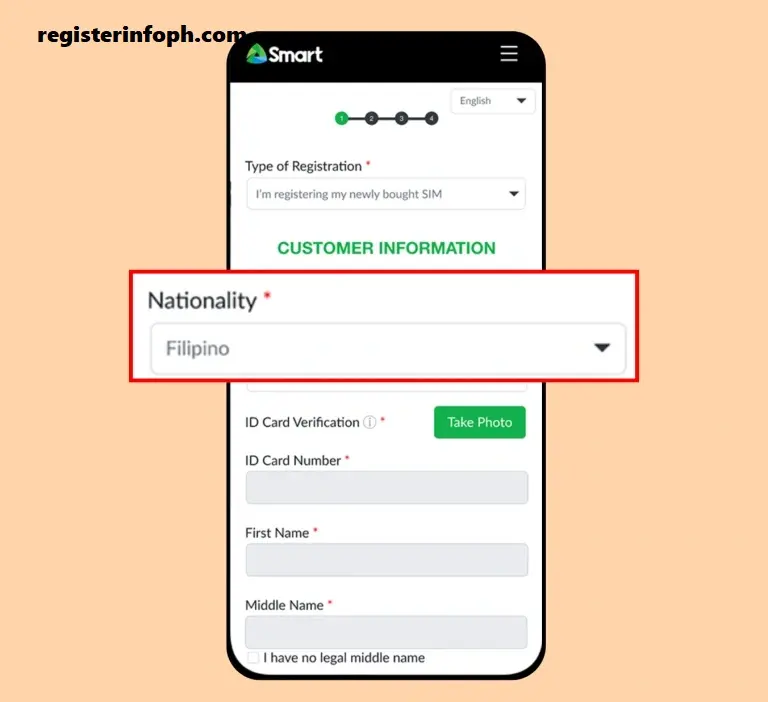
Move on to ID Card Verification by uploading clear photos of the front and back of your valid ID.
Make sure your ID hasn’t expired, or it won’t be accepted.
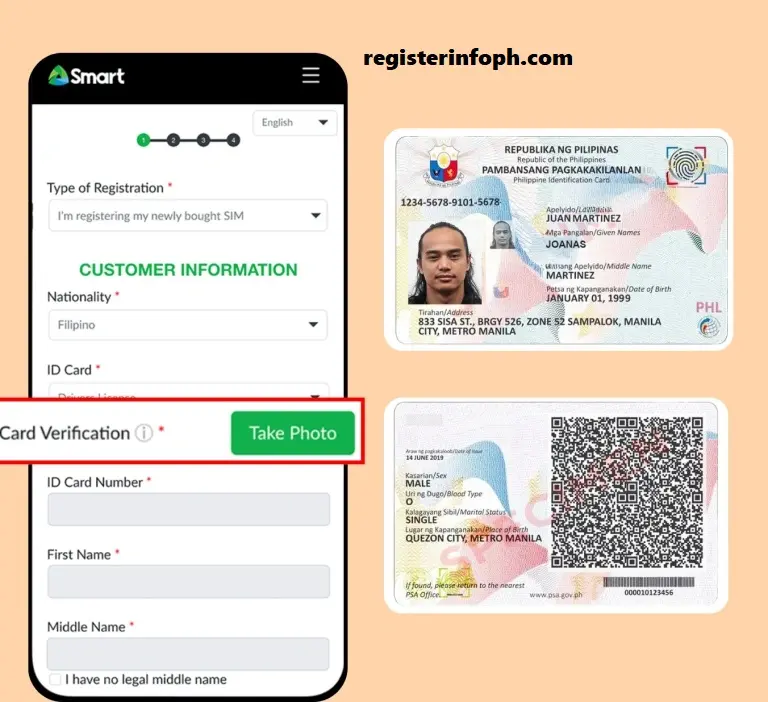
Follow the on-screen instructions to take a live selfie.
Make sure your face is clear, well-lit, and matches your ID photo.
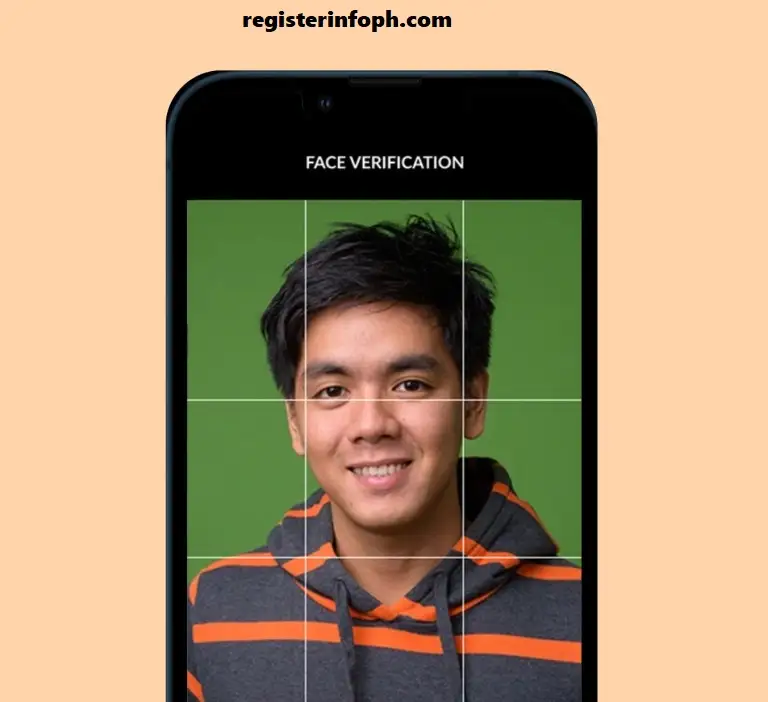
Once your ID has been scanned successfully, tap OK to proceed.
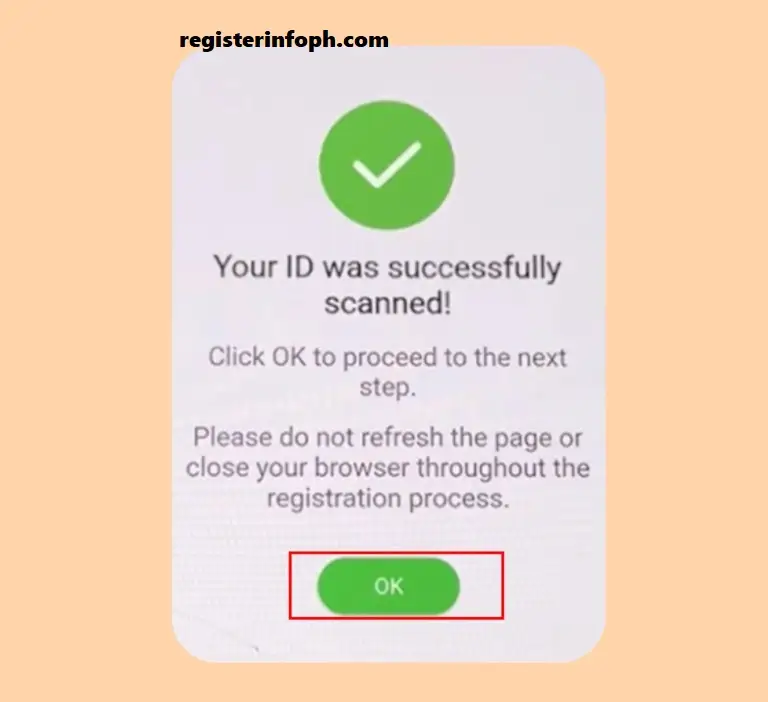
Fill in your First Name, Last Name, Age, Date of Birth, Gender, Contact Number, and Address.
(In some cases, TNT may automatically pull these details from your ID.)
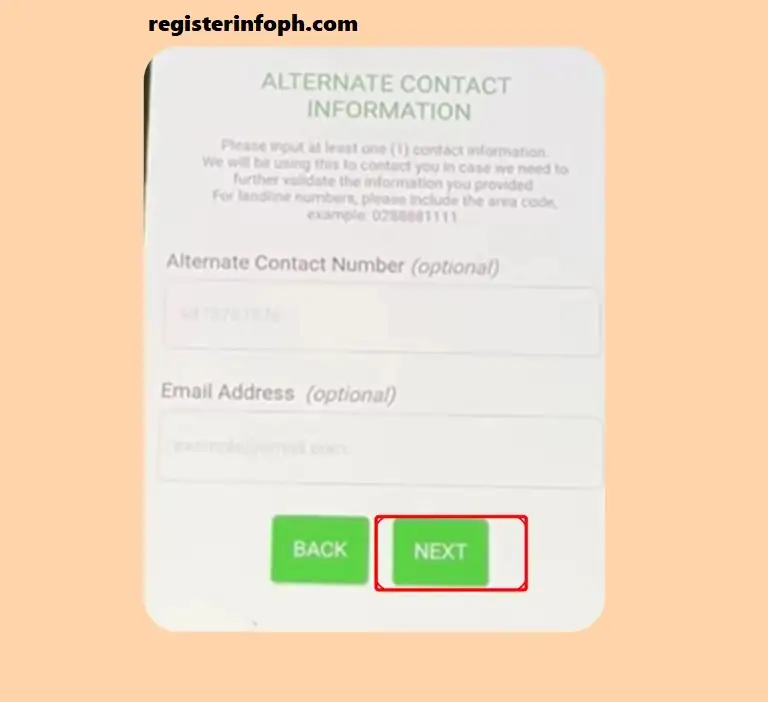
You can also include alternate contact information (optional), then tap Next.
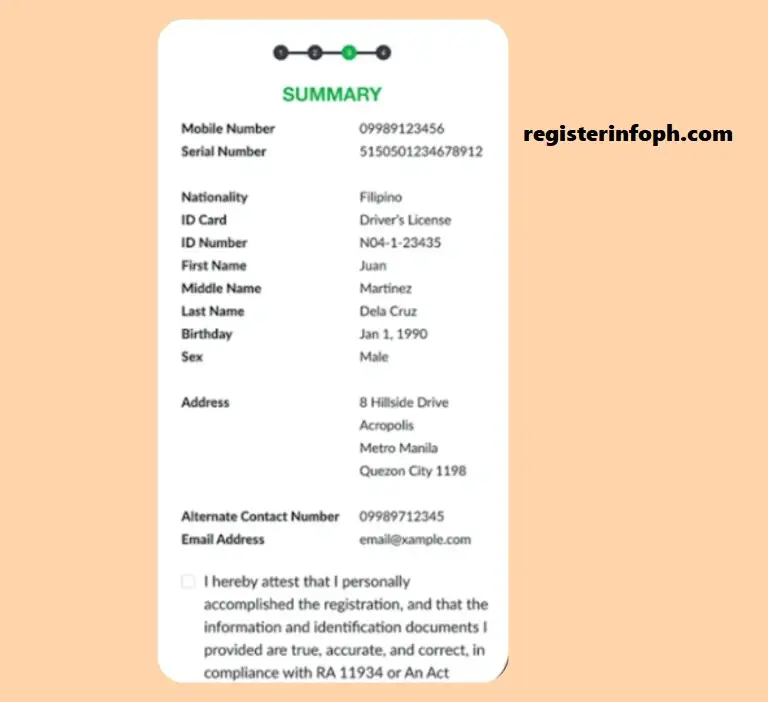
Check the final summary shown on the screen.
Check the confirmation box and tap Submit.
You’ll see a “Congratulations” message — your TNT/Smart SIM is now successfully registered!
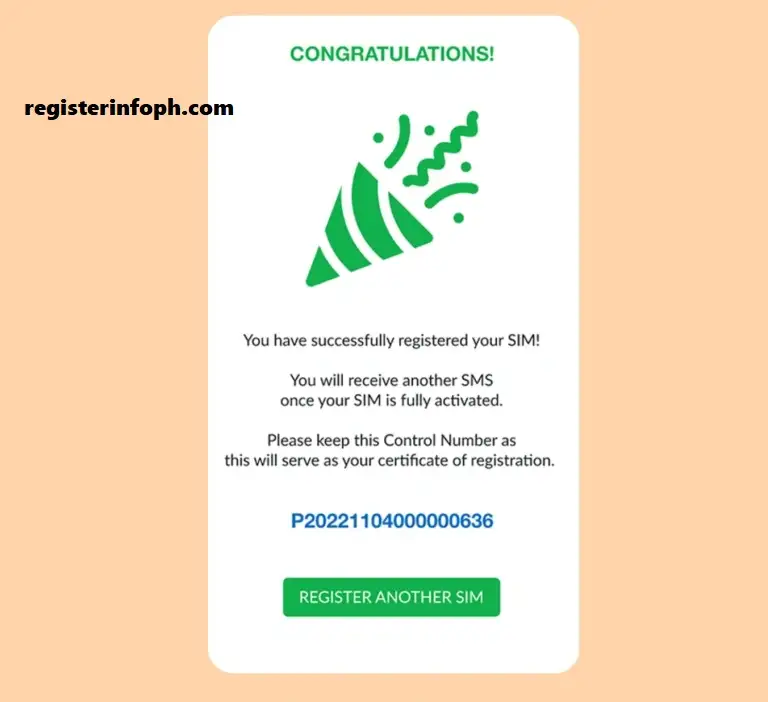
For TM SIM registration, the process works the same way. After entering your details and finishing ID and selfie verification, you’ll get a confirmation message once your TM SIM is successfully registered.
2 Signing Up Through Smart/Gigalife App
Signing up your TNT SIM is fast and simple with the Gigalife App. Follow these steps to complete your TNT SIM registration within minutes. Make sure your SIM card is inserted and your phone is connected to the internet. The GigaLife App also functions as the TNT SIM Registration App.
Step 1 — Insert your SIM and launch the app
- Place the Smart SIM into your phone.
- Launch the Gigalife App.
- Confirm that you’re connected to mobile data or Wi-Fi.
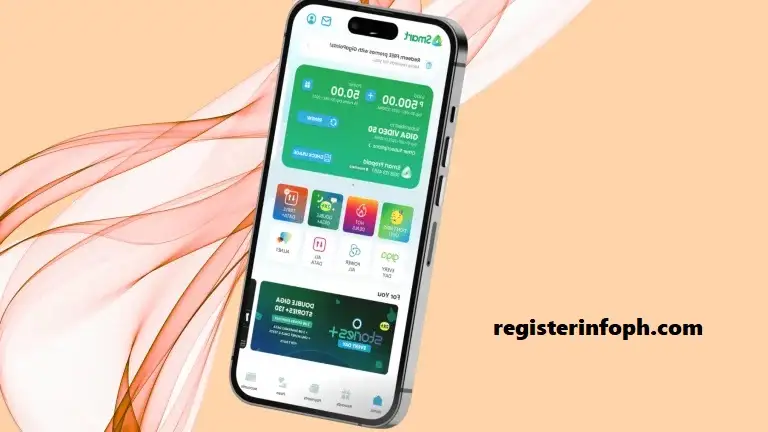
Step 2 — Tap “Register Your SIM”
- Inside the app, locate and tap “Register Your SIM NOW!.”
- This will bring up the TNT SIM registration form.
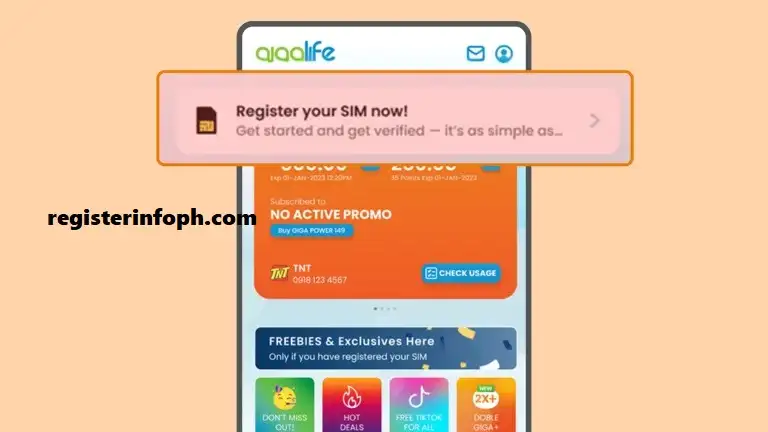
Step 3 — Input your mobile number
- Enter the TNT mobile number you wish to register.
- Review the number carefully to avoid errors.
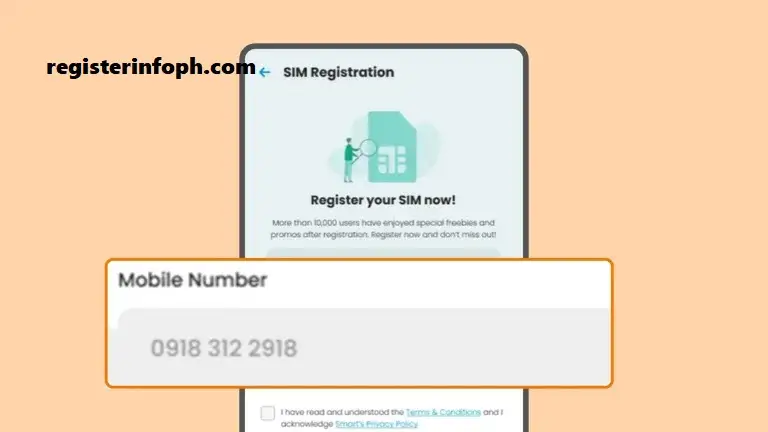
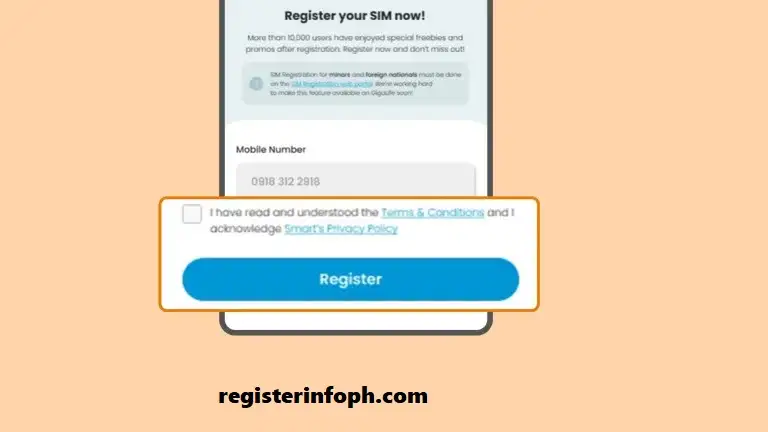
Step 4 — Review and accept the terms
- Go through the Terms and Conditions and Privacy Notice.
- Check the box to agree — this step is mandatory.
- Tap Register.
Step 5 — Request and input OTP
- Wait briefly for the OTP (one-time password) to be sent.
- Type the OTP into the app.
- Tap Proceed.
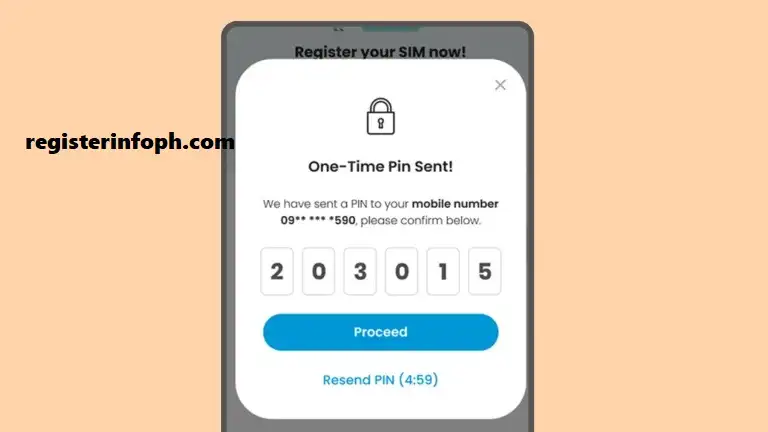
Tip: If the OTP doesn’t come through, try requesting it again after 30 seconds or check your network signal.
Step 6 — Select registration type and ID
- Choose your registration type (such as individual).
- Select your nationality.
- Pick which valid ID you’ll submit (e.g., passport, driver’s license, national ID).
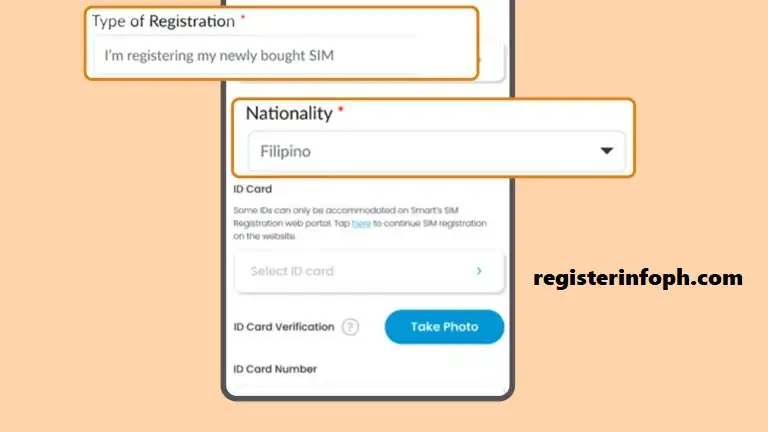
Step 7 — Submit your ID photo
- Tap Take a Photo or Upload.
- Capture a sharp, well-lit image of your ID.
- Confirm that all information is legible.
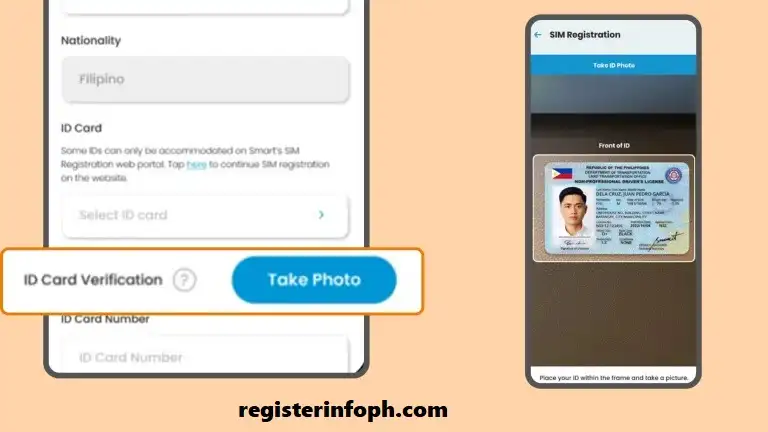
Tip: Avoid glare and keep the ID steady while photographing.
Step 8 — Capture a selfie
- Follow the app’s instructions to snap a selfie.
- Ensure your face matches the ID photo.
- Keep your face visible and centered.
- If the scan succeeds, tap OK to continue.
- If it fails, retake the selfie.

Step 9 — Verify your personal details
- Go over the displayed information closely.
- Fix any mistakes before moving forward.
- Tap Next once everything checks out.

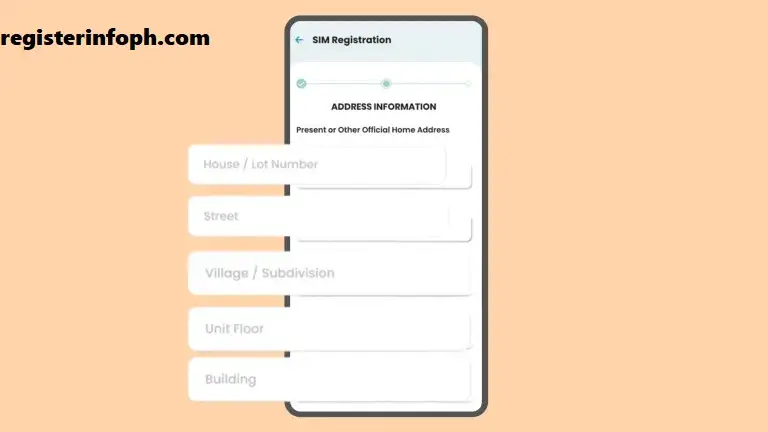
Step 10 — Provide your address
- Enter your current or official home address.
- Include your house/lot number, street, province, city, barangay, and ZIP code.
- Add extra details if necessary.
- Tap Next.
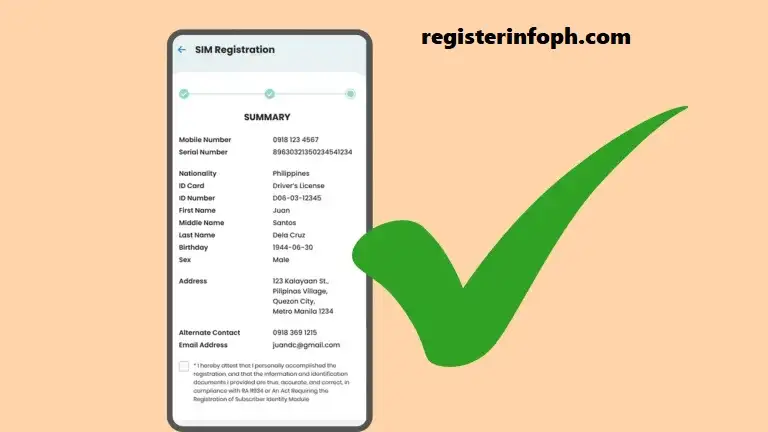
Step 11 — Review and finalize submission
- Go through the final summary displayed.
- Check the confirmation box.
- Tap Submit.
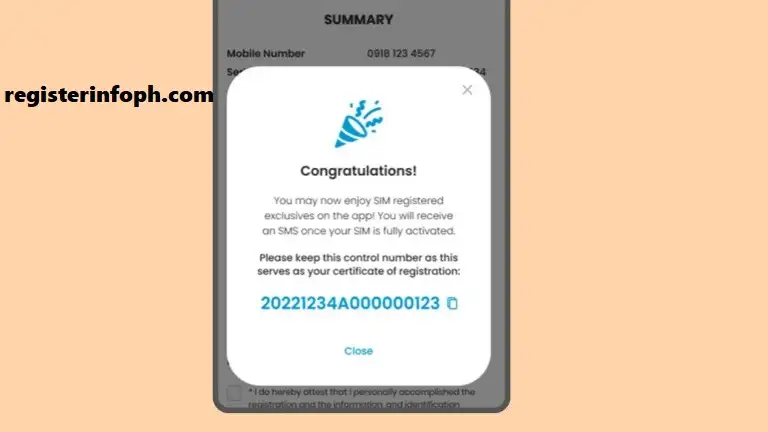
Step 12 — Confirmation message
- A “Congratulations” message will pop up.
- Your Smart SIM has now been registered.
3 In-Person SIM Registration Method for TNT
Those who’d rather visit the Help Center in person can use this offline registration option.
- Set an appointment by visiting the official Smart website.
- Once at the branch, staff will walk you through the SIM registration process for TNT.
- After choosing your registration type, they’ll collect your details. Remember to bring your ID card, since they’ll need to verify it.
- Once your identity and documents are confirmed, your SIM registration will begin.
- If you need further help, you can return to the Smart branch to resolve any concerns.
Note
- SIM registration cannot be done through the Official Helpline Channel, such as dialing *888 or calling (02) 8888-1111.
- Uploaded files and images must not exceed 5 MB.
- Only JPEG, JPG, or PNG file formats are accepted.
TNT SIM Registration for International Visitors & Tourists
Are you a foreign traveler in the Philippines trying to figure out how to temporarily register your TNT SIM card? The process for non-locals is nearly identical to that of local users, with a handful of extra document requirements.
- Go to the official TNT SIM card registration website to begin : https://simreg.smart.com.ph/.
- Input your mobile number, and an OTP (One-Time Password) will be sent to you. Enter it to confirm your number.
- Provide the necessary information, including your passport number, valid visa ID, and other required personal details.
- Submit your documents (passport and visa) in JPEG, JPG, or PNG format in the designated section.
- You’ll also need to go through face verification by capturing a clear selfie that resembles your passport photo.
- Once you’ve submitted your details and documents, verification may take a few days to finish.
Explore our latest guides and updates to discover more helpful tutorials on SIM registration, government services, and online applications.
SIM Registration for Government and Private Entities
SIM registration for government offices and private companies follows a process much like the standard TNT SIM registration for individuals. That said, the following extra documents are needed to confirm the organization’s identity and authorization.
For Government Entities
- Government-issued ID of the authorized representative
- Authorization Letter or Special Power of Attorney (SPA) from the head of the government office
- Official ID belonging to the head of office or the designated signatory
- Certificate of Employment or Designation (to verify the representative’s role)
For Private Entities or Corporations
- Certificate of Registration from the Securities and Exchange Commission (SEC)
- Board Resolution or Secretary’s Certificate naming the authorized representative
- Valid ID of the authorized representative
- Valid ID of the company’s signatory or approving officer
- Business Permit or DTI Certificate (for businesses not SEC-registered)
Note
The authorized representative is accountable for registering and managing all SIM cards issued under the entity’s name.
Requirements and Acceptable IDs
Before heading to any TNT branch or trying an online TNT SIM registration method, you’ll need certain documents and IDs ready — without them, your registration won’t go through.
1 TNT SIM Registration Requirements For Filipino Citizens
- Mobile Number
- Email Address (optional)
- Date of Birth
- Full Name
- Current residence (Complete Exact address)
- Gender
- National ID Card (not expired)
- SIM purchase receipt
- A clear photo
2 SIM Registration TNT Requirements for Foreign Nationals
Foreign nationals must provide the following details to register their SIM through smart.com. … Content continues. Activate the Show More button to reveal the full content.
Show More
Acceptable IDs (for all registrants)
Here’s the list of accepted IDs:
- Philippines Identification
- Social Security System ID
- E-Card
- Passport
- Driving License
- Police Clearance
- National Bureau of Investigation Clearance
- PRC ID
- Integrated Bar of the Philippines ID
- Voter ID
- OWWA ID
- SCC
How to Check SIM Registration Status
Verifying your TNT SIM registration status is a key step to confirm whether your SIM card has been successfully activated. You can check your registration status either through the Gigalife App or the Smart SIM Registration Portal.
1 Through the Gigalife App
- Launch the Gigalife App and set up an account if you haven’t already.
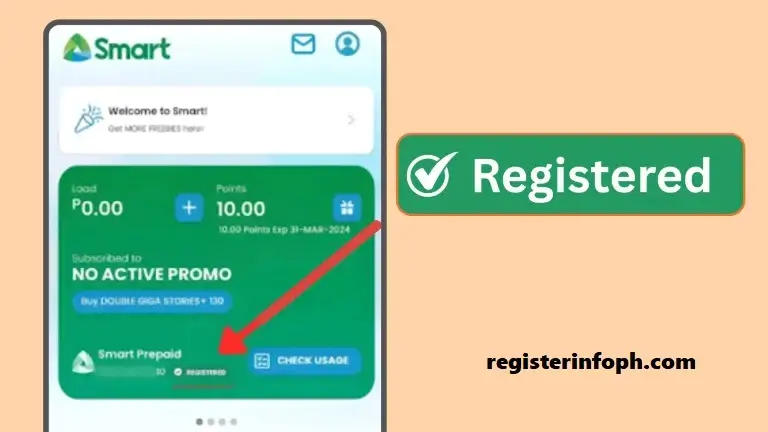
- After logging in, your TNT SIM registration status will appear on screen — showing whether your SIM is registered or not (see image below).
2 Through the Registration Portal
- Head to the Smart SIM Registration Portal using the button mentioned earlier or visit https://simreg.smart.com.ph/.
- Type your mobile number into the required field.
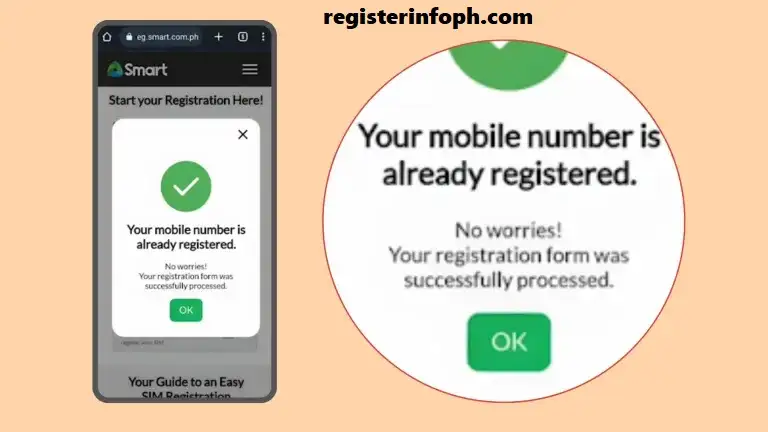
- If your number is already registered, a message will appear saying “Your number is already registered.”
- If your number isn’t registered yet, you’ll be taken to continue the registration process.
You can relate : Smart SIM Registration Philippines 2026 : Complete Guide
Globe SIM Registration 2026: Complete Online Registration Guide
Advantages of TNT SIM Registration
There are several advantages tied to the TNT SIM card that draw millions of users to take advantage of TNT services.
Improved Security
The first advantage users gain is improved security, meaning the likelihood of fraud, theft, and fake identities drops significantly once an individual is verified through TNT Smart SIM registration.
Secure Telecom Network
Thanks to registration, the government can more easily maintain a safe and secure telecommunications network among citizens.
Unlimited Services
You can choose from any of TNT’s unlimited service options that fit your needs and budget, covering cellular data, SMS, and calls.
Customer Support
Round-the-clock customer support on the Smart website lets users raise any concerns, no matter how minor.
No Risk of SIM Deactivation
Once registered, the chances of your SIM getting deactivated drop to zero, letting you call and chat worry-free.
Common TNT SIM Registration Problems and Solutions
If you run into issues while registering your TNT SIM, don’t worry. Most registration errors are easy to fix with a few simple troubleshooting steps. Below are the most common problems users face and the best ways to resolve them.
Registration Form Won’t Submit
If the registration form displays an error or refuses to submit, review every field before trying again. Make sure all required information is complete and exactly matches the details on your valid government-issued ID. Also, follow the required format for each field.
For example, if the ID number should be entered without spaces or hyphens, using the wrong format may prevent your registration from being processed.
Smart GigaLife App Not Working
If the Smart GigaLife App crashes, freezes, or doesn’t respond during registration, try closing and reopening the app. If the problem continues, update the app to the latest version or reinstall it before trying again.
You can also switch to another device or complete your registration through the official Smart SIM Registration Portal if the app is temporarily unavailable.
Incorrect Personal Information
Sometimes the system may incorrectly scan the information from your uploaded ID, especially if the image is blurry or unclear. Always review your personal details before submitting the registration form.
If you notice any incorrect information, edit it manually to ensure it matches your valid ID exactly.
Website Loading or Connection Issues
The registration portal may load slowly during peak hours or scheduled maintenance. If the website isn’t opening properly, wait a few minutes and try again.
Using a stable Wi-Fi connection or switching to another network can also help complete the registration without interruptions.
OTP Not Received
If you don’t receive the One-Time Password (OTP), confirm that your TNT SIM is inserted correctly and has a network signal. Wait a few minutes before requesting another OTP.
If the problem continues, restart your phone and tap Resend OTP. Avoid requesting multiple OTPs in a short period, as this may temporarily delay new verification codes.
Frequently Asked Questions
Here are the commonly asked questions regarding Smart TNT SIM Registration.
Wrapping Up
Completing TNT SIM Registration does more than just enable seamless communication — it also protects users from data breaches and fraudulent schemes.
As technology continues to advance in this digital age, scams and fraud are on the rise as well, which is precisely why the Philippine government has made SIM registration a priority. Whether you’re a resident or a foreigner, registering your TNT SIM is essential.